

So, You Want to Re-Do Your Lawn? - Tips From the Pros
10/10/2023 - By Dr. Paul Giordano
Maybe the weeds have completely
overrun your yard. Or maybe a disease wiped out a good portion of your prized
plot of land. Perhaps you fell victim to the fury of the fall armyworm this
summer. Or maybe you’re just an obsessive grass geek who’s tired of minor
inconsistencies and imperfections and finds it cathartic to work on your
yard…Either way, there may come a time when you decide “I want to re-do my lawn.”
If you ever find yourself in this situation, some advice is
always welcomed, so I’d like to share my story to hopefully help save you time,
money, and some headaches along the way. And if everything works out, you might
even impress some neighbors with your turf-tending skills!
Re-Doing Your Lawn
As a certified turf nerd, it’s incumbent upon me to not only
maintain a respectable home lawn, but to do it in a way that helps my family,
friends, and neighbors understand the fascinating nuances of turfgrass
management - At least that’s my twisted way of thinking. I recently decided to
renovate my front lawn due to several issues that have plagued it since we
moved into our house a few years ago. So here is a play-by-play of some key
processes that should make your life a little easier should you decide to take
on a lawn reno project such as this.
(note – this is particularly relevant for folks growing
cool-season turfgrass in the northern half of the United States…some
differences in timelines and products will exist for the Southern U.S.…for
that, call Dr. Jeff Atkinson or Dr. Raymond Snyder.)
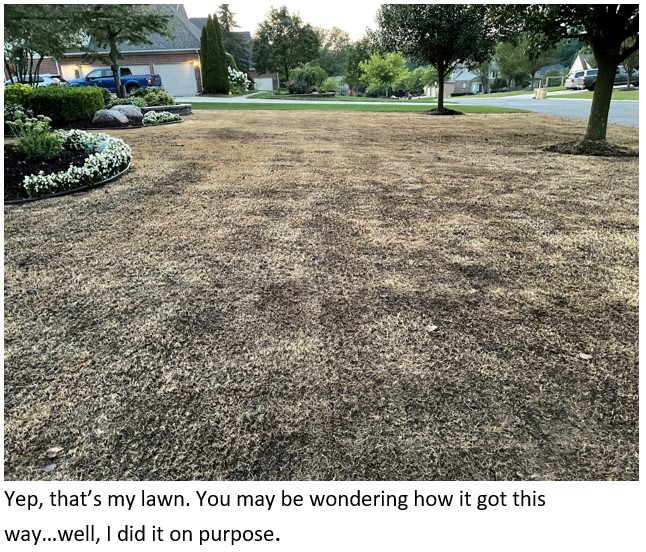
Step 1 – Kill It
When lawns get too unruly, it often requires full-scale
re-grassing. In these cases, it’s far easier and more efficient to remove all
the existing plant life and start with a clean slate. The best tool for this
job is a non-selective herbicide, that does not hang around very long and has
no residual effect on seed germination. Glyphosate (the active ingredient in
RoundUp) is perfect for this scenario. Apply RoundUp as a foliar spray evenly
to the entire area you intend to renovate according to product label
instructions. Be careful not to overspray the RoundUp into flower beds, shrubs,
or other adjacent areas around your yard as it is a non-selective
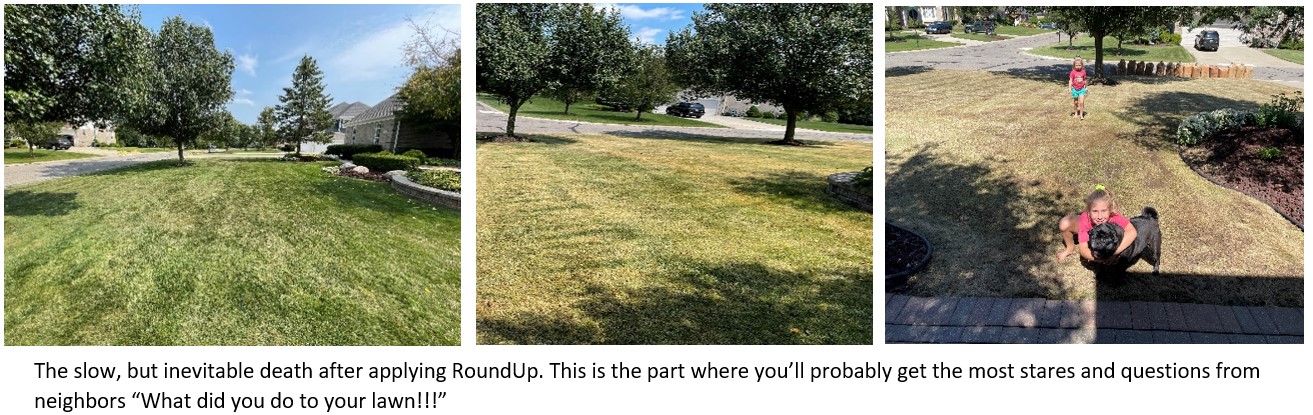
herbicide that will damage or kill anything green that it touches. Once the
RoundUp is applied and has ample time to dry…you wait.
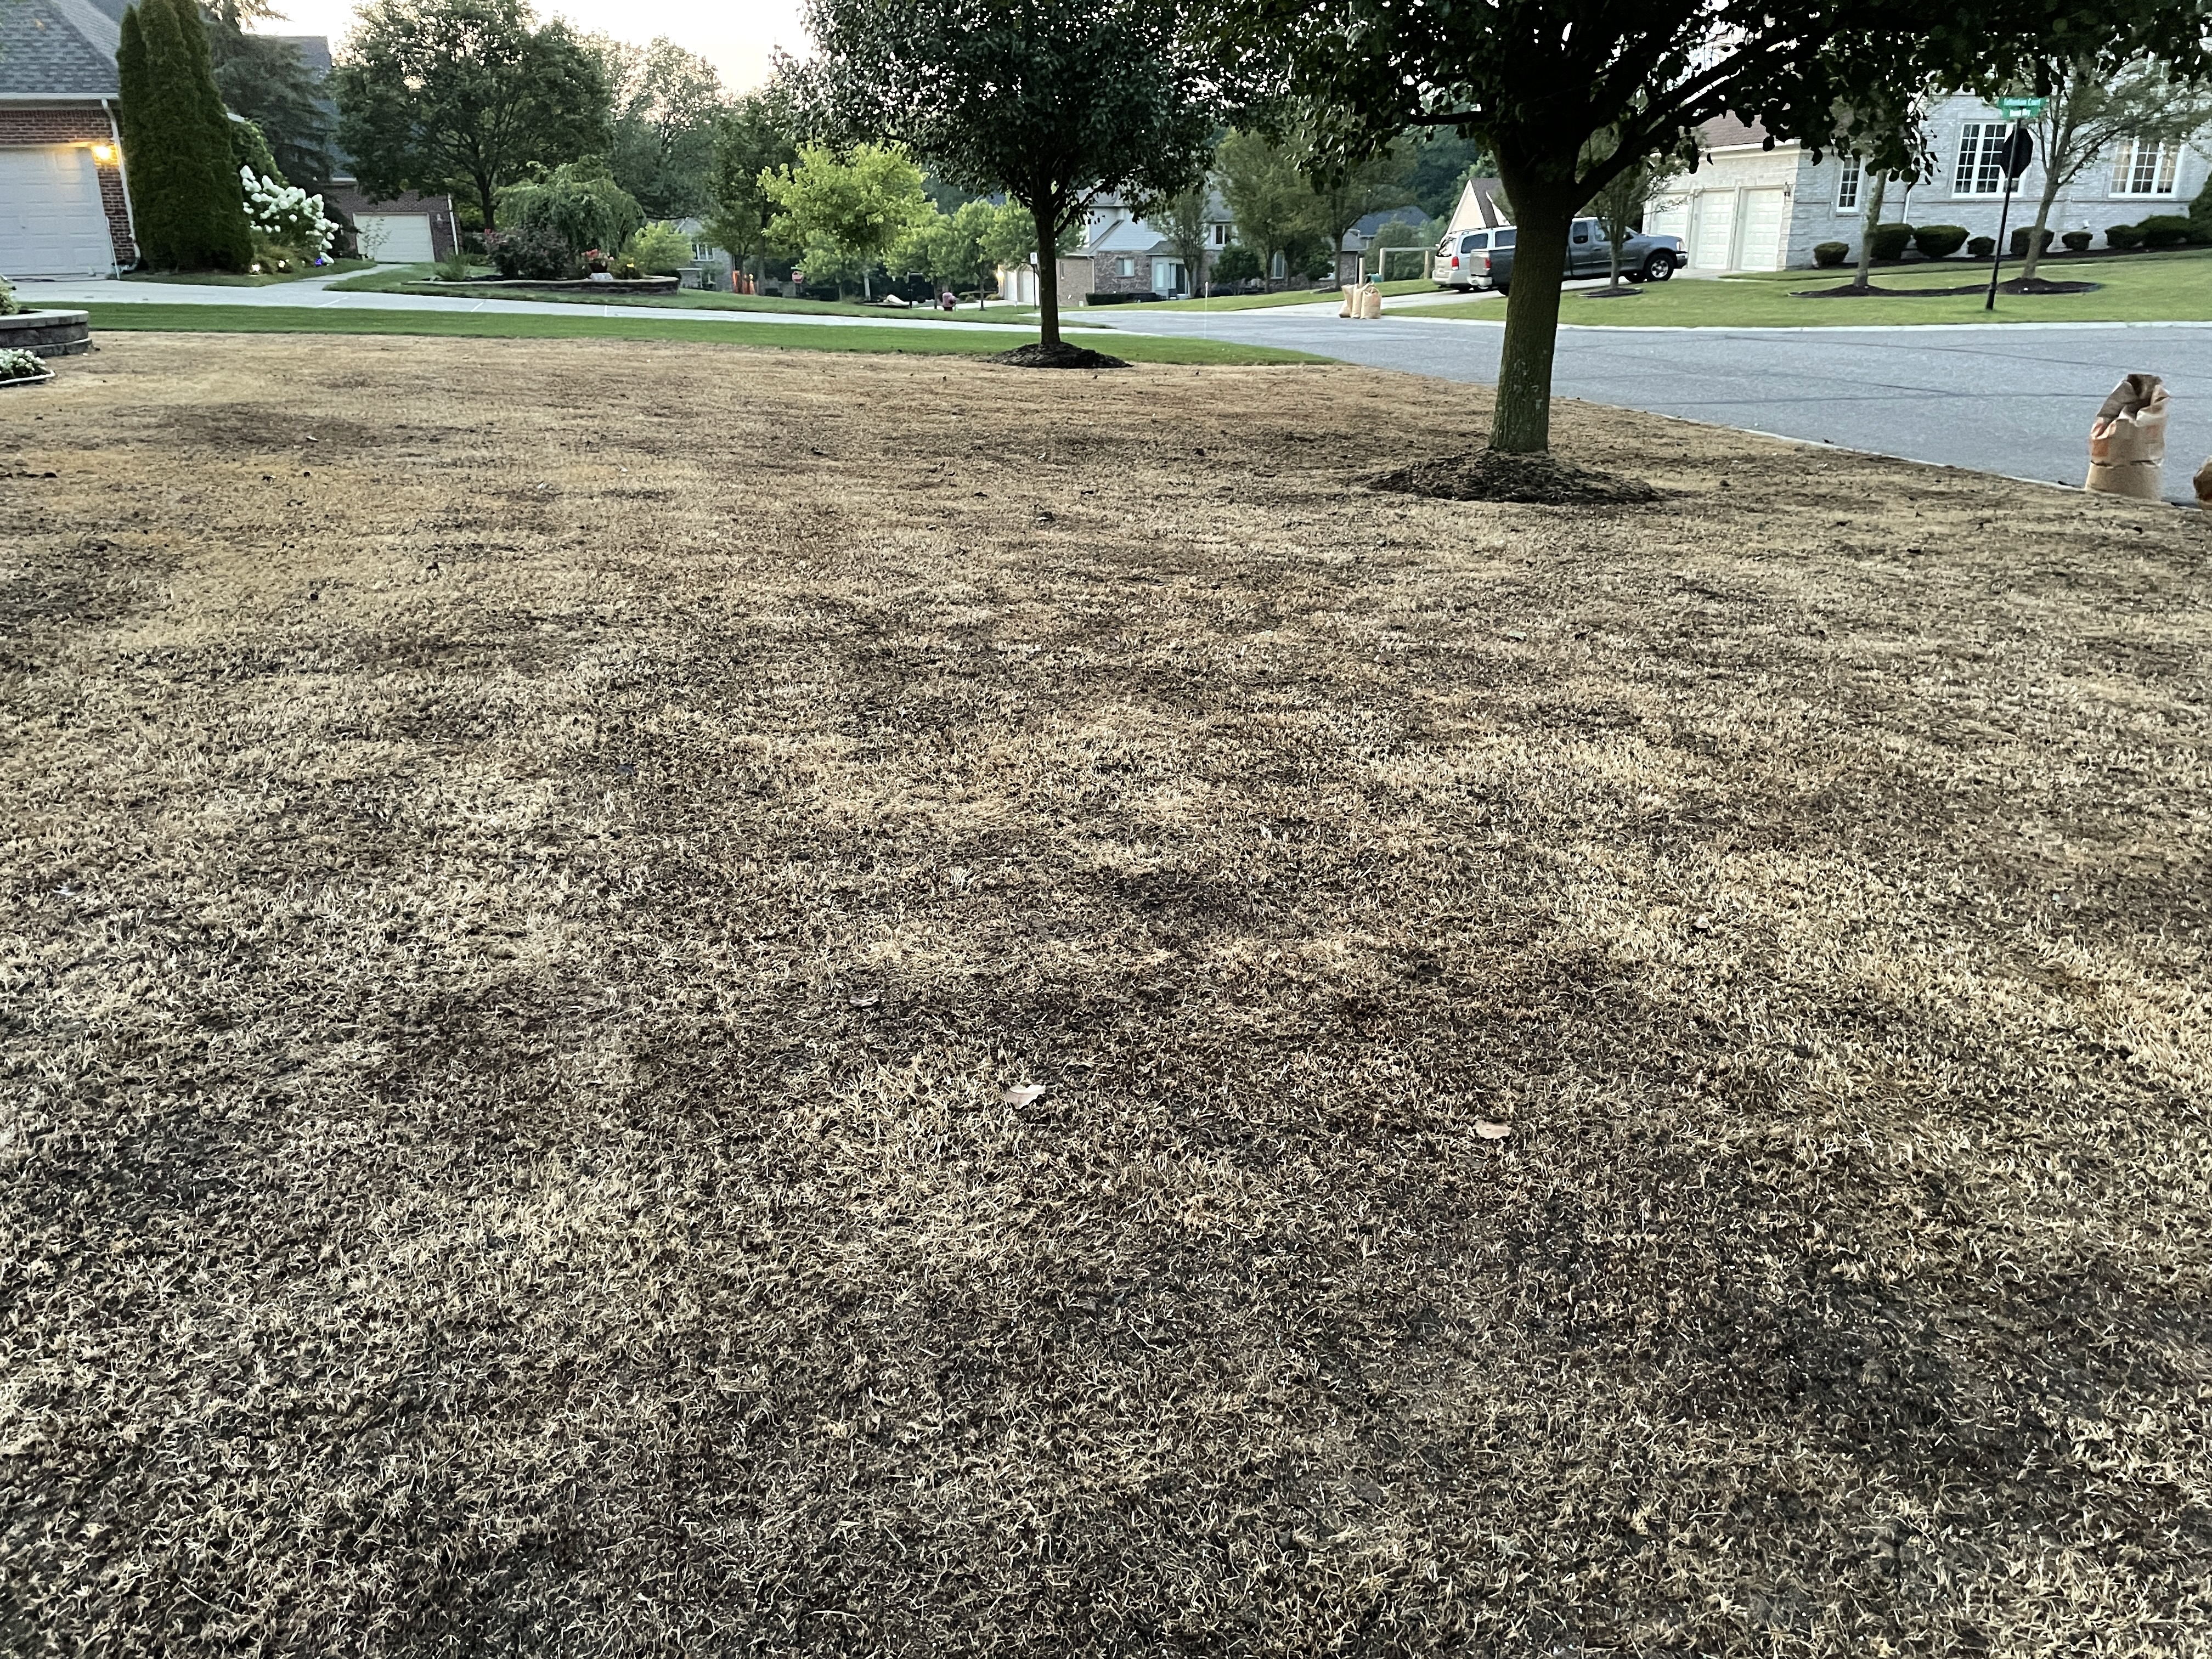
Step 2 – Scalp It
Once the old stand of grass/weeds has turned to straw and is
sufficiently dead, it’s time to remove as much of that old material as possible
via mowing. You’ll want to set your mower close to or at the lowest deck height
and it may take several mowing events to get most of the material removed.
You’ll want to bag and discard the material as you mow, this will ensure you’re
not leaving a mess of clumps of dead matter behind. Don’t worry about removing ALL
the old grass/material, a little bit of old turf left behind is okay. It should
end up looking something like this:
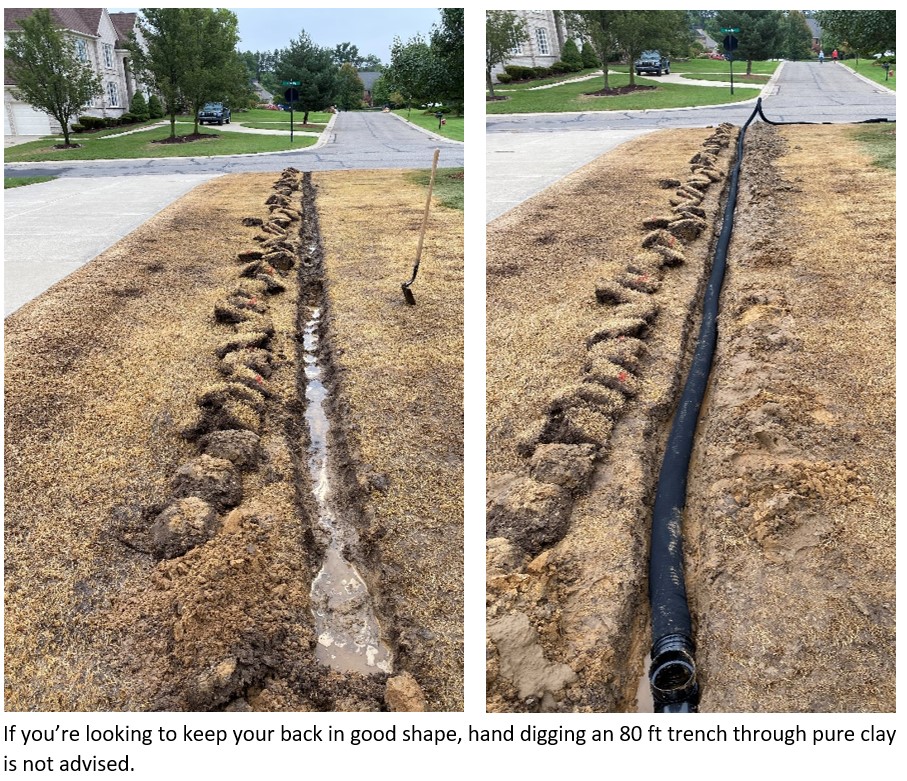
Step 2.1 – Address Drainage or Irrigation Issues
With the grass now dead, it’s a good time to do some digging,
if necessary, to alleviate any major drainage problems or irrigation issues. I
took the opportunity to install drainage beneath the wettest area of my lawn,
and it has made a world of difference!
Step 3 – Slice It
Now that the old junk is out of the way, your goal is to
create areas where your grass seed can make good seed-to-soil contact. This
is a critical step for successful germination and establishment. It’s also the
step that is going to cost you the most of any other.
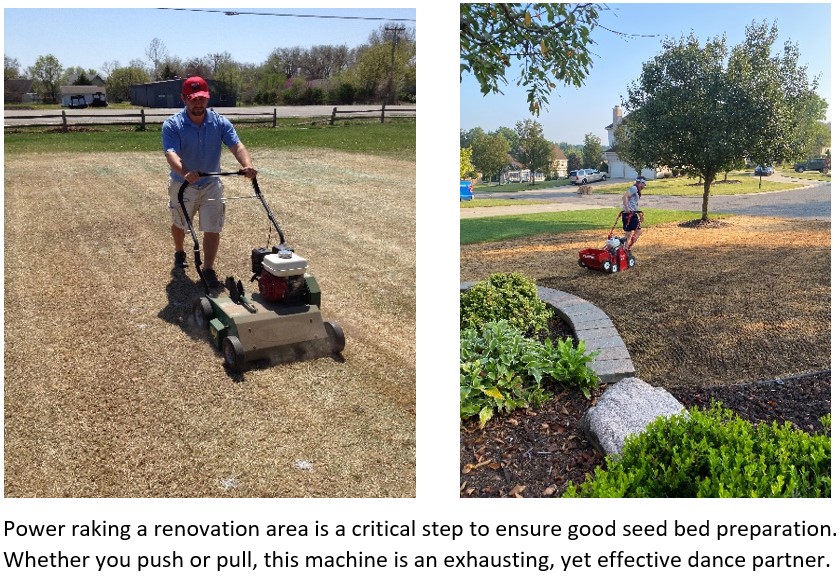
You’ll need to go to your local tool & equipment rental
store (i.e. Home Depot) and rent a power rake or power seeder. These machines
are quite simple and act like small slicers or dicers that cut narrow channels
into the upper layer of the soil. These channels are where your grass seed will
make its home and eventually germinate. That said, it’s best to slice/power-rake
your lawn in multiple directions to make as many channels as possible before
seeding.
Step 4 - Seed It
Although you can establish during different times of the
year, late summer to early fall is the perfect time to seed cool-season
grasses. The soil temperatures are ideal, and the hot, humid weather of summer
is trending toward more favorable cooler conditions. This sets the plant up for
several months of good growing conditions for establishment. Before you seed
your new lawn, however, you’ll need to do a little research on grass species
and appropriate types of turfgrass or blends for your situation. There are many
variables to consider, but the key ones include:
·
Geographic region (warm season turf vs. cool
season turf)
·
Sunlight (full sun, partial sun, shaded area)
·
Irrigation (yes, no, water restrictions…etc.)
These factors will play the biggest role in which grass or
grasses you end up selecting. I have a yard in southeastern Michigan that gets
plenty of sunlight and a properly functioning irrigation system. I chose to use
a common cool-season mixture of Kentucky bluegrass and perennial ryegrass at an
80% to 20% mix respectively. The seed blend I used was Harrell’s Premier 80
Blue/20 Rye Mix with TWCA varieties for improved drought tolerance.
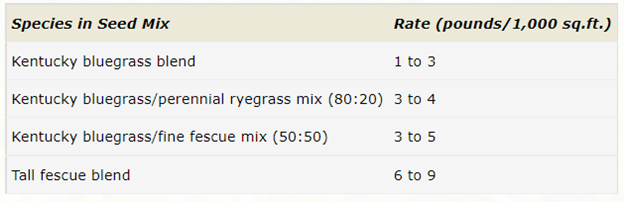
The seeding rate, meaning the amount of seed you put down
per given area is also important and will vary depending on the grass types
you’re using. A general guideline for some common cool season turf types is
below:
Once you have an idea of how much seed to put down based on
your total square footage, you’ll want to use a rotary push spreader or a
handheld crank spreader to ensure an even application of seed across the area.
Step 4.1 – Rake It, Gently
With the seed on the ground, you’ll want to take one more
step to ensure good seed-to-soil contact. A simple but effective strategy is to
use the back end (upside down) of a metal leaf rake and gently drag it across
the entire seeded area. The goal here is not to displace any of the seed, but rather
gently help the seed work its way into the small channels you created with the
power rake.
Step 5 – Feed It
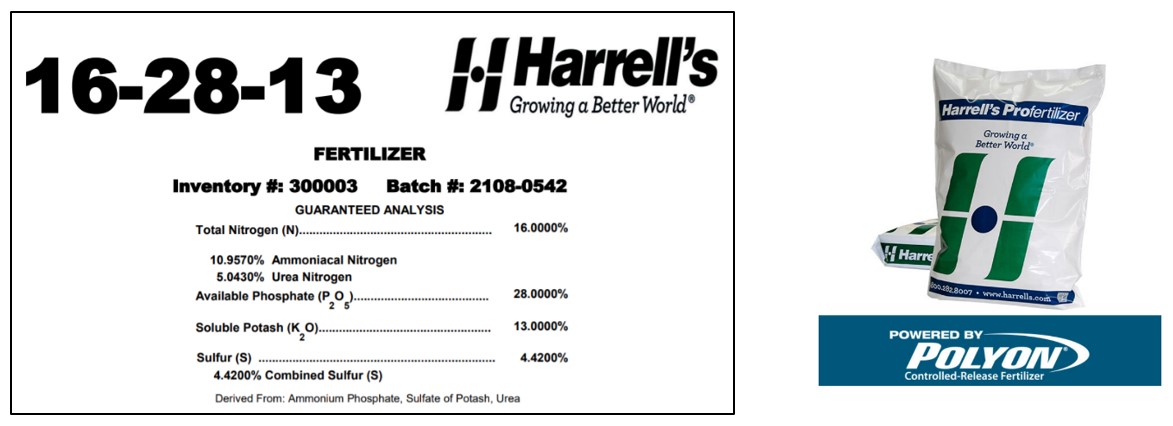
A starter fertilizer is often necessary to help provide
seeds with the proper nutrition/energy to germinate and produce new tissues. I
used a Harrell’s product on my lawn to get things moving and help the
germination process along. In most scenarios, you’ll want to choose a product
that has a higher phosphorus analysis - usually at a 1:2:1 ratio among NPK
(phosphorus represented by the middle number in the analysis).
Although there are nuances too complicated to discuss here,
a general rule is to provide the plant with around one pound of phosphorus per
1,000 sq ft. during the germination process (local restrictions on fertilizer
applications always take precedence - A soil test is advised before the
renovation to understand available plant nutrients before supplemental application).
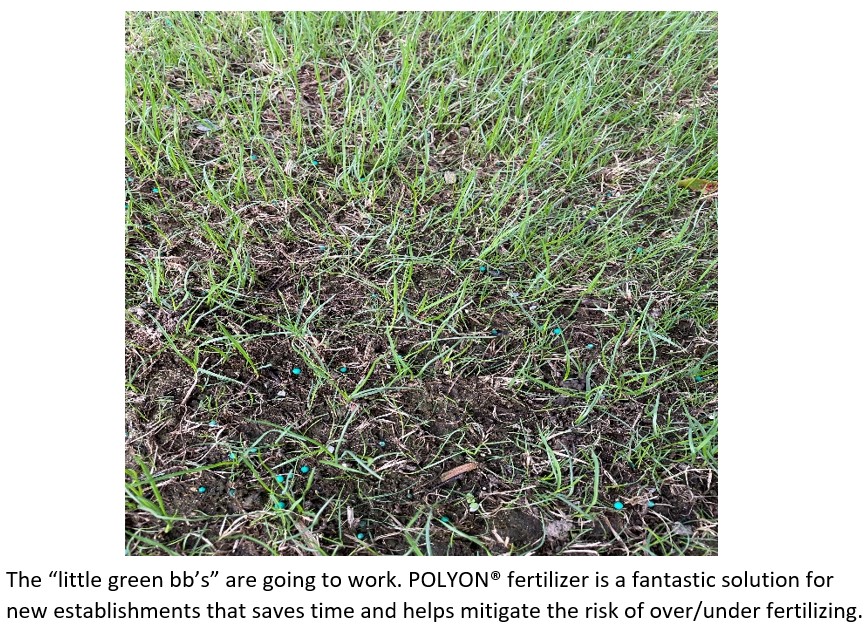
In addition to the starter fertilizer, you may opt to put science on your side and use a controlled-release fertilizer like POLYON® to provide a slow, predictable, and steady release of nitrogen to the plant throughout the remainder of the growing season. I chose to use a 100% slow-release 30-0-12 that I put out at a rate of 2.0 lbs N/1000 sq ft. This will feed the new grass throughout the fall and provide some additional nutrition into next spring.
Step 6 – Water It
You’ve made it through the hard parts of re-establishment,
now it’s time to protect and nourish your investment. The next few weeks are
like bringing a newborn home from the hospital – you must “baby” these young
seedlings with judicious and targeted irrigation and keep unnecessary traffic
to a minimum. The key is not to let the area get too dry or too wet but to keep
a steady amount of moisture in the upper soil profile, allowing for proper
germination and seedling growth.
You’ll want to water for short intervals more frequently
throughout the day, especially if temperatures are still hot and rainfall is
scarce. Three times per day (morning, afternoon, evening) is usually sufficient
for the first couple weeks, then as the grass starts to fill in, you can back
off the regimented schedule and water as needed based on how the turf is
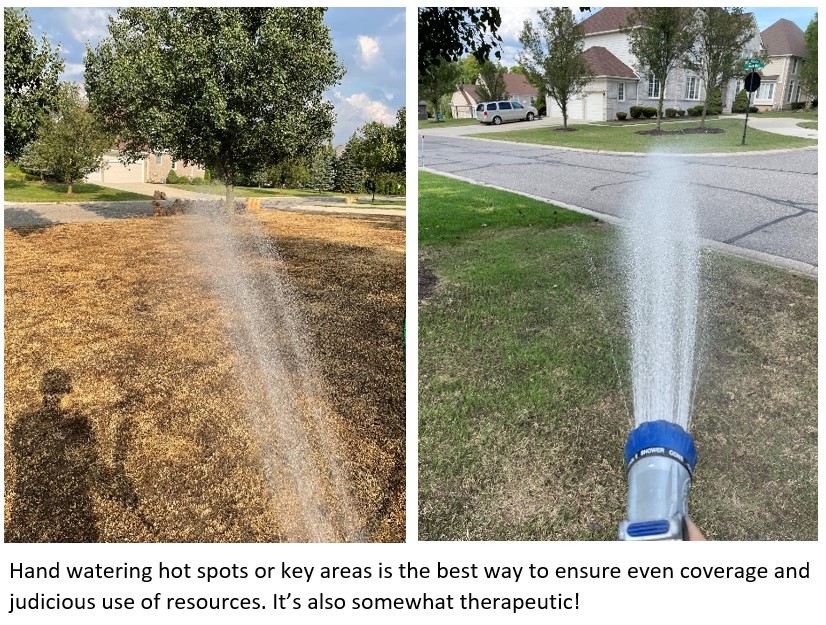
established. I suggest being ready to hand water areas that are dryer, warmer, or simply don’t get the irrigation coverage like the rest of the lawn. Targeted
watering can be the most efficient and effective way to get areas to fill in at
a similar rate.
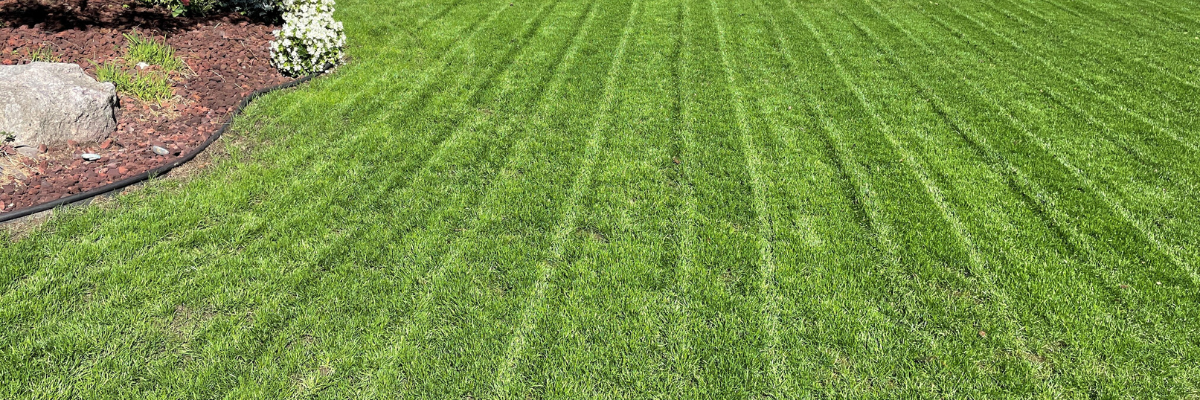
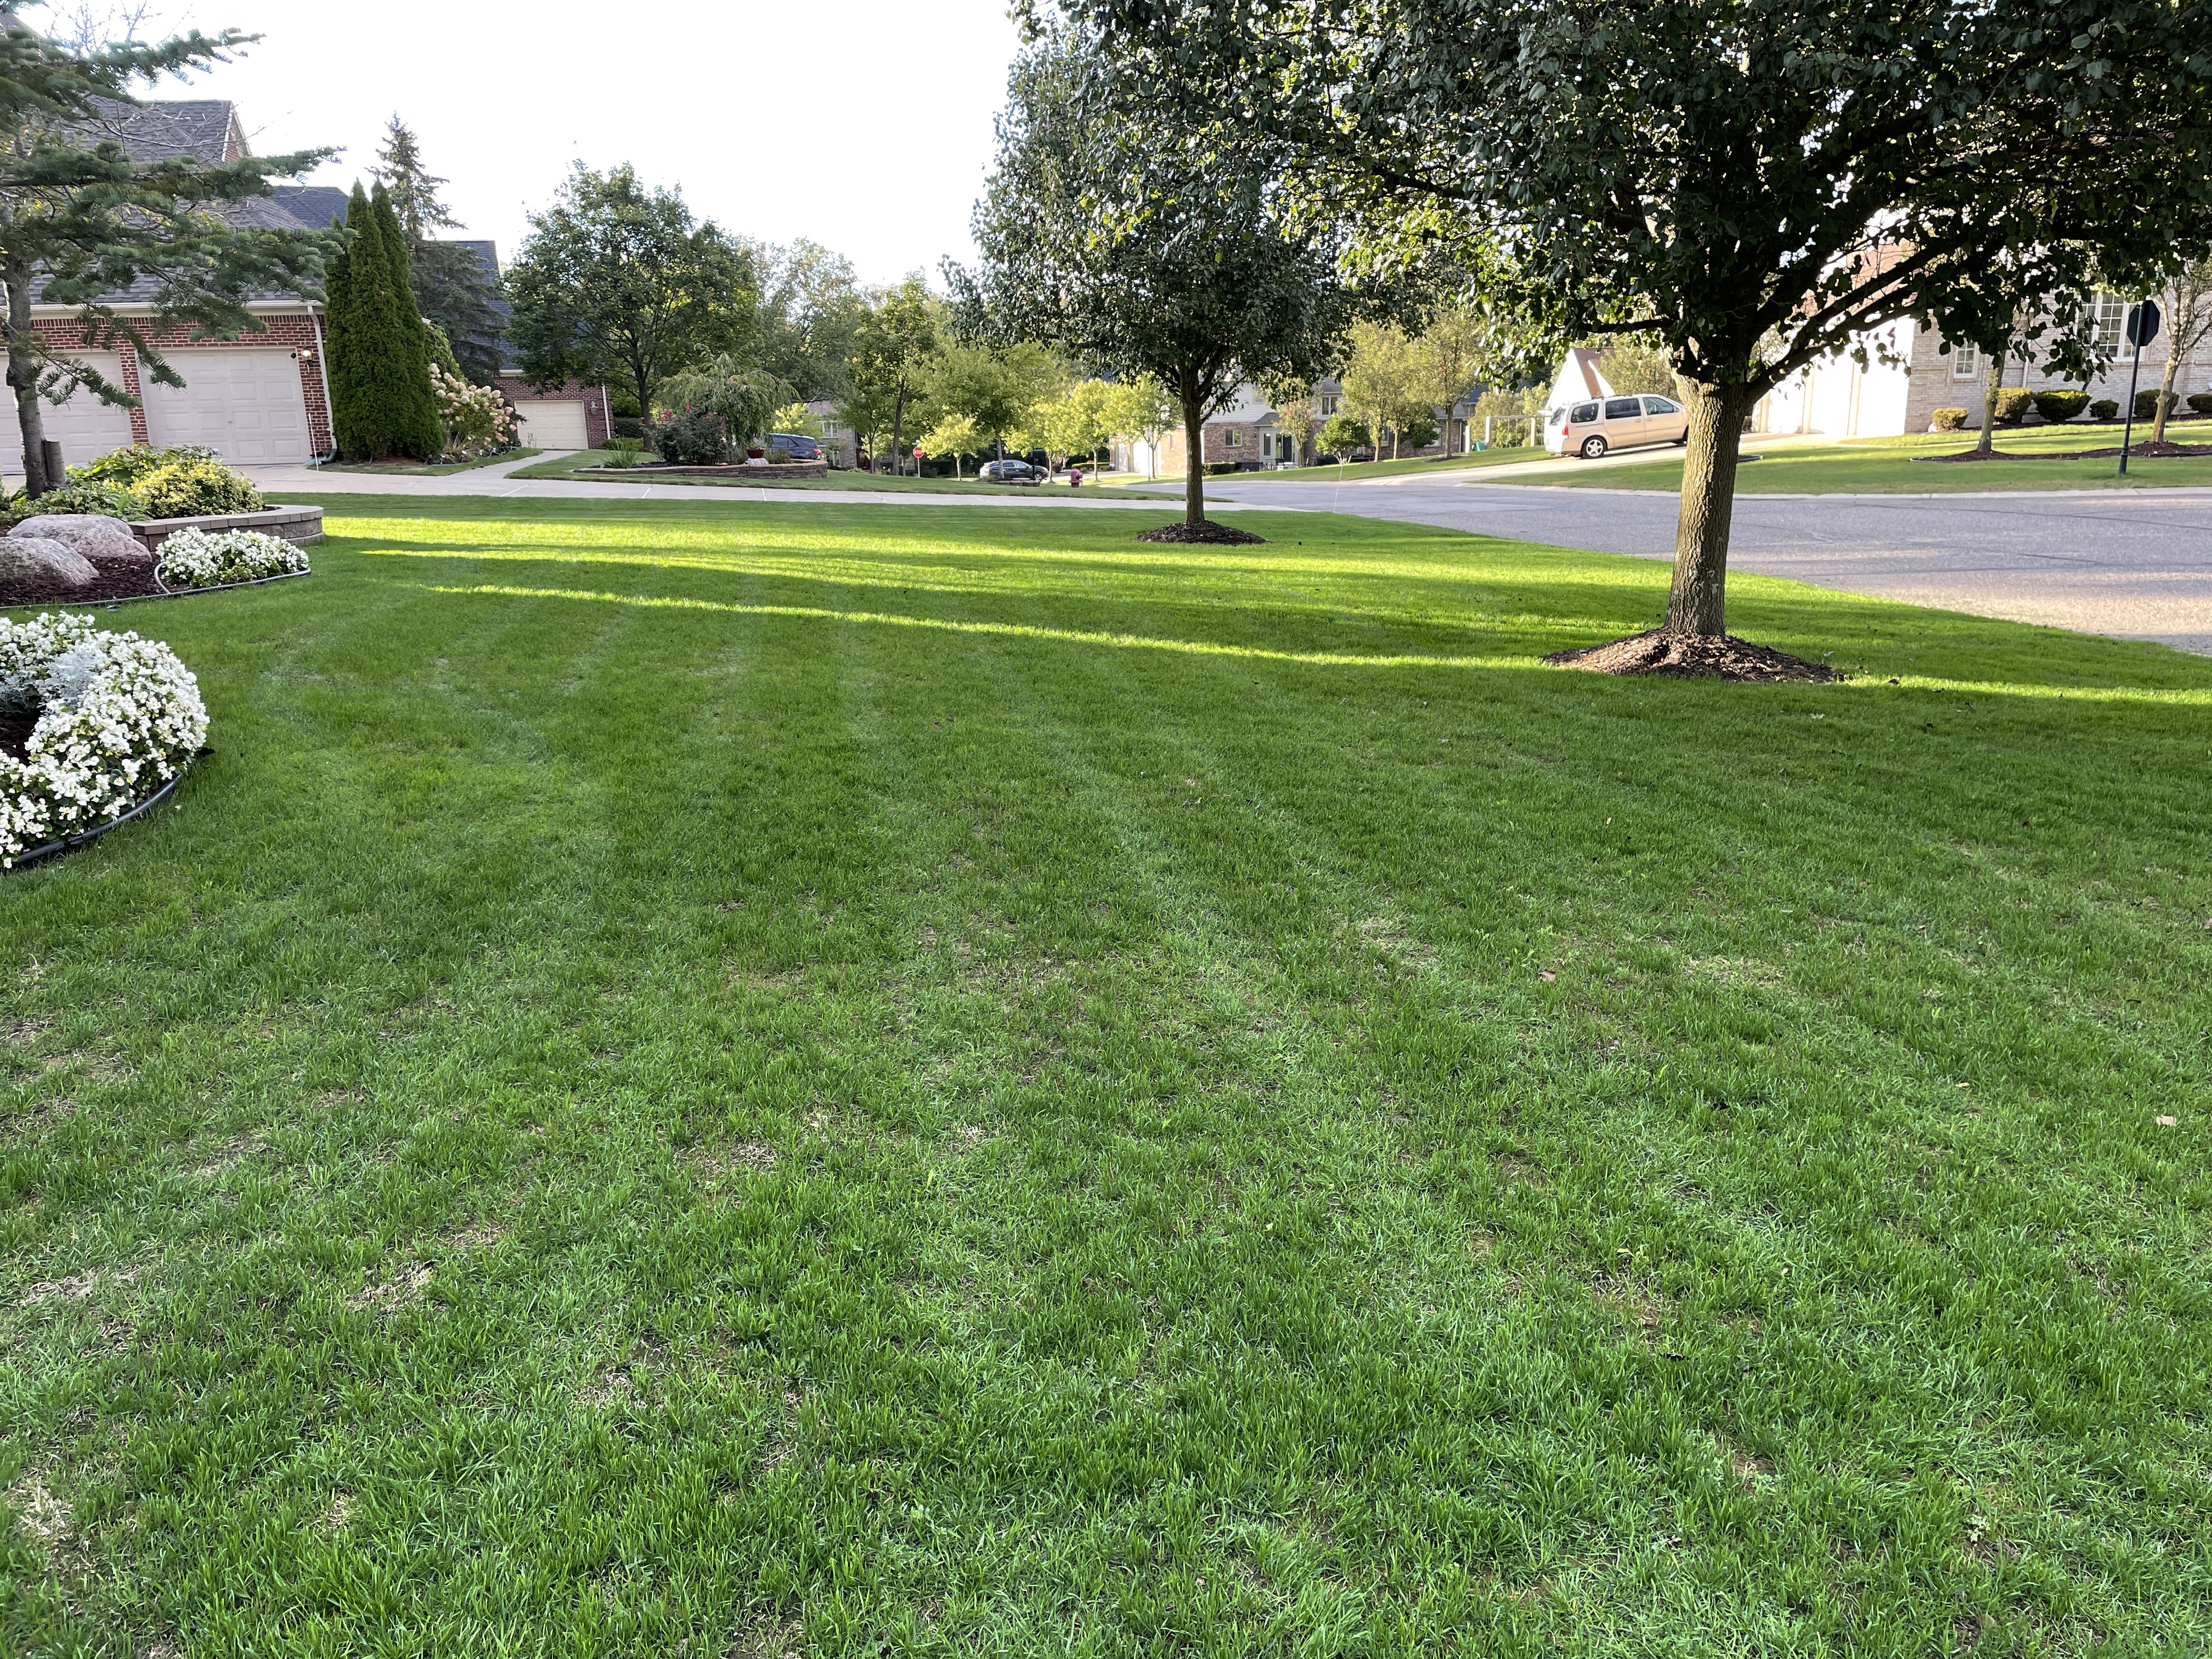
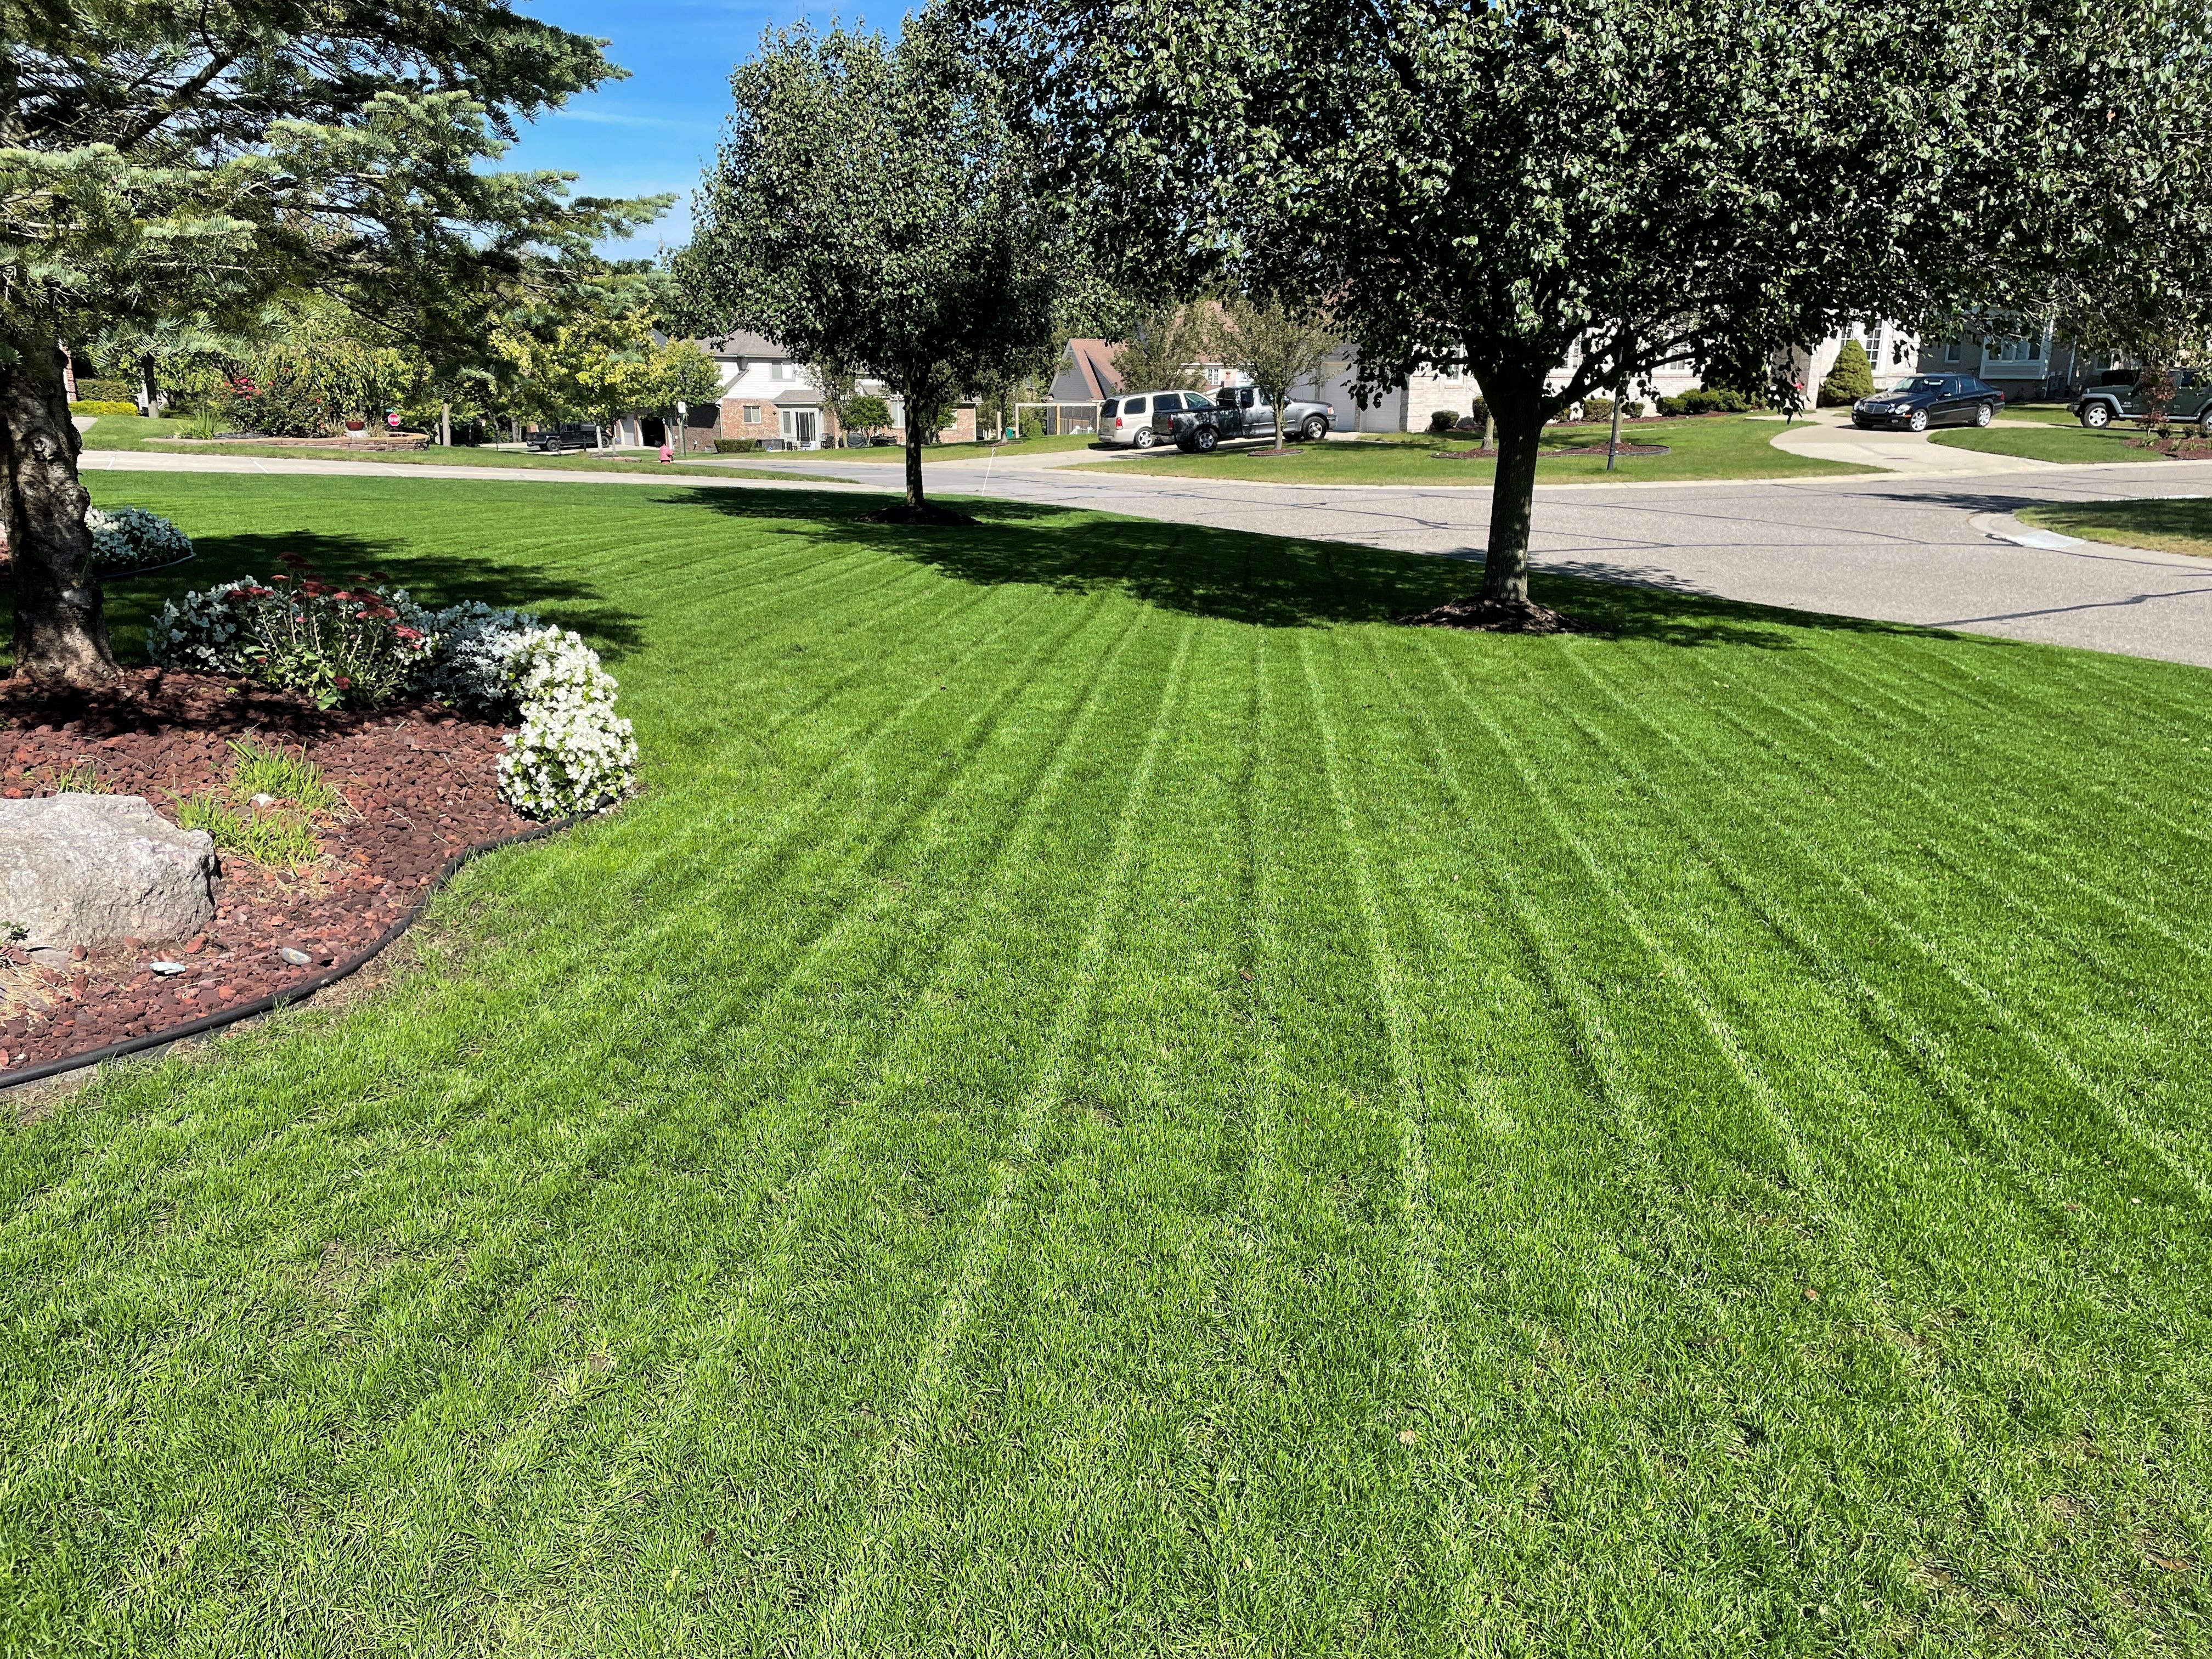
Step 7 – Mow as It Grows
Congratulations, you’ve got yourself a new lawn! The neighbors will be in awe of your agronomic skills and now view you as the grass guru of the subdivision. As your turf matures over the first few weeks, you’ll want to mow it regularly to help encourage lateral growth and additional fill-in of thin areas. Make sure to mow on dry days, and to keep aggressive turning or maneuvering to a minimum. The turf is still weak and shallow-rooted, so careful consideration must be taken when implementing a practice like mowing for the first few times on a new stand. Once mowed, you will start to enjoy and appreciate the benefits of your hard work.
From here on out, it’s back to the basics of turf management
to keep the lawn healthy and well-maintained for years to come. Luckily,
Harrell’s has the best products and people to help you along the way. If you
have any further questions about resetting your lawn or what products/procedures
might fit your best, reach out to your local Harrell’s Representative.